This is an electronic workflow system system built for one of babcock final year students. a system meant for automating the workflow when submitting either school form, final year report , course form or any other school documents.


This system is still in DEVELOPMENT phase.
This project is created using the below technologies:
-
Frontend
- React :- A single page application library meant for creating reusable UI components.
- Notyf :- A smooth toast notification library.
- React-Router :- A react dynamic routing library.
-
Backend
- Node.js :- A javascript runtime environment made for building realtime , data intensive applications.
- Express.js :- is a back end web application framework for Node.js, released as free and open-source software under the MIT License. It is designed for building web applications and APIs
- Postgresql :- open-source relational database management system emphasizing extensibility and SQL compliance
Running this project locally it is required you have the above tools pre-installed on your pc, if not, follow the instructions below.
- Download or Clone The Project.
Download the project from github either by using curls or ssh
CURL
CLIENT APP
C:/users/benrobo> curl https://github.com/Benrobo/e-workflow-client.git
GIT SSH
C:/users/benrobo/desktop> git clone https://github.com/Benrobo/e-workflow-client.git
This would download this project in desktop directory having the name e-workflow-server and e-workflow-client if that where youre executing this command from.
- Open the folder where it was downloaded on the terminal, in my case it would be
   // windows

   C:/user/Desktop/e-workflow-client>

   // linux
   benrobo@benrobo:~/Desktop/e-workflow-client$
- Install all Dependencies. Before making use of the command stated below make sure you have the latest version of nodejs installed, if not here is a video on how to download and setup nodejs on your pc.
- windows
- Mac
- Linux
After doing that, make sure to check if it installed correctly on your pc. To verify, simply use the below command
 node --version
 //and
 npm --version
The above command would print each version of the node.js and npm package if installed correctly.
Now let install all dependencies in our client application which was downloaded previously using the command below.
C:/user/Desktop/e-workflow-client> npm install
If everything installed sucessfully with no error, congratulation your're all setup for the client application to be view on the browser.
But holdon a bit, we cant just run this fullstack application without the need of a backend. Now let setup our backend
-
Download or clone the backend api logic using the instructions below
- Download the project from here e-workflow-server
-
After downloading the project into your pc, move into the directory where you downloded it, in my case it
   // windows

   C:/user/Desktop/e-workflow-server>

   // linux
   benrobo@benrobo:~/Desktop/e-workflow-server$
- Now installed all the dependencies present in the project
package.jsonfile using
   // windows
   C:/user/Desktop/e-workflow-server> npm install

   // linux
   benrobo@benrobo:~/Desktop/e-workflow-server$ npm install
Doing this would install all the dependencies which was used in this project.
Before running the backend api server, our backend logic depends on a Postgresql database which is used to store user info, to setup postgresql database on your system, Please watch the below videos to download, install and setup postgresql database on your pc.
- Postgresql Installation
After installation was successfull, kindly check if postgresql is enabled globally on your pc using the below command
//windows
C:/> psql -U postgres // the name which was set when installing it.
// Linux
benrobo@benrobo:~/$ sudo -i -u postgres psql
Doing this would show the below image if everything works successfully.
- windows
- Linux
- Mac


If all went well, continue with the following steps
- Create necessary database and tables in postgresql
Within the e-workflow there exist a file called .sql, this file contains the queries you need to make to create both the tables and database of the server. Simply copy each statement one after the other and paste into the postgresql terminal after loggin in. Starting from
1. -- Database

CREATE DATABASE "e-workflow";
- Connect the database created using the command below
postgres=# \c "e-workflow"after doing that, the postgresql terminal directory should change into the one below having the database name
e-workflow=#- Copy and Paste all queries line after line into the postgresql database terminal
-- database creation

CREATE DATABASE "e-workflow";

-- Tables Creations

CREATE TABLE "users"(
    id TEXT NOT NULL unique primary key,
    "userId" TEXT NOT NULL unique,
    "userName" TEXT NOT NULL,
    "mail" TEXT NOT NULL unique,
    "phoneNumber" TEXT NOT NULL,
    "type" TEXT NOT NULL, -- student | staff
    "hash" TEXT NOT NULL,
    "userRole" TEXT NOT NULL, -- student | staff | admin
    "userStatus" TEXT NOT NULL, -- pending | approved
    "refreshToken" TEXT NOT NULL,
    "joined" TEXT NOT NULL, -- Date from moment
    "documentPermissions" INT
);


CREATE TABLE "groups"(
    id TEXT NOT NULL,
    "name" TEXT,
    "courseType" TEXT,
    "courseName" TEXT,
    "userId" TEXT NOT NULL,
    "memberId" TEXT NOT NULL,
    "created_at" TEXT NOT NULL
);

CREATE TABLE "documents"(
    id TEXT NOT NULL,
    "title" TEXT NOT NULL,
    "documentType" TEXT NOT NULL,
    "courseType" TEXT NOT NULL,
    "courseName" TEXT NOT NULL,
    "userId" TEXT , -- this would be filled up when submitting course form
    "groupId" TEXT, -- this would be filled up when submitting final year project
    "supervisor" TEXT,
    "externalSupervisor" TEXT,
    "schoolOfficer" TEXT,
    "courseAdvisor" TEXT,
    "HOD" TEXT,
    "status" TEXT NOT NULL,
    "file" TEXT NOT NULL,
    "created_at" TEXT NOT NULL
);


CREATE TABLE "docFeedback"(
    id TEXT NOT NULL  unique primary key,
    "note" TEXT NOT NULL,
    "documentId" TEXT NOT NULL,
    "staffId" TEXT NOT NULL,
    "created_at" TEXT NOT NULL
);


CREATE TABLE "codes"(
    "userId" TEXT NOT NULL,
    "token" TEXT NOT NULL,
    "issued_at" TEXT NOT NULL
);

CREATE TABLE "notifications"(
    "id" TEXT NOT NULL  unique primary key,
    "userId" TEXT NOT NULL,
    "staffId" TEXT,
    "message" TEXT NOT NULL,
    "isSeen" TEXT NOT NULL,
    "type" TEXT NOT NULL,
    "issued_at" TEXT NOT NULL
);

CREATE TABLE "signatures"(
    "id" TEXT NOT NULL  unique primary key,
    "documentId" TEXT NOT NULL,
    "staffId" TEXT NOT NULL,
    "image" TEXT NOT NULL,
    "documentType" TEXT NOT NULL,
    "issued_at" TEXT NOT NULL
);
After doing that, verify if all tables were correctly created using the command below
e-workflow=# \dthis should print all tables present in that database.
If not, then you inserted the queries wrongly, else congratulation you've just setup your backend database server.
After applying all necessary instructions correctly, it time to put all this to the test using the below command.
Navigate to where the e-workflow and e-workflow-server was downloaded and run the command below
    ... Running the client app

    // e-workflow client
    C:/users/benrobo/Desktop/e-workflow-client> npm start

    // this should spin up the local react server in your browser. with the url of http://localhost:3000

    ... Running the backend api server
        // e-workflow client
    C:/users/benrobo/Desktop/e-workflow-server> npm start

    // this should spin up the local nodejs server in your terminal.
you should be presented with this screen
Now you're ready to navigate through the site.
🎊🎊🎊🎊🎊 Congratulation 🎊🎊🎊🎊🎊
If any issue was met during this process simply create an issue on the issues github tab
As you well know that this system allow sending of mails using Gmail smtp mail server along with a nodejs package called node-mailer. For this to work properlly, you need to add some configuration within the e-workflow-server app.
-
Open the
e-workflow-serverapplication in your preferable code editor tools. -
Create an environmental variable file called
.env. This is a simple text configuration file for controlling your Applications environment constants. -
After creating one, open the file and paste into this file some configurations you need.
 DB_HOST="localhost"
 DB_USER="postgres" // this would be the default user for your postgresql database when setting it up.
 DB_NAME="e-workflow" // database name
 DB_PWD="1234" // postgresql password

 MAIL_USERNAME="address@gmail.com" // your gmail address
 MAIL_PASSWORD="1234" // your gmail password

 JWT_REFRESH_SECRET=8389cad5c066f561678309435646b98f
 JWT_ACCESS_SECRET=f98a3d1eb308da7e1dbdf21c23b8259t
Looking at this above, you would know why we prefer to store this into a
.envfile. -
For gmail to accept incomming mail from an application outside it domain without classifying the message or inbox as
SPAM, we need to enable an important setting on your gmail account. -
Enable Less Secure Apps On Gmail.
- Go to https://accounts.google.com/ web page to login to your google account.
- Click the
Securitymenu item on left, then scroll down on right and click theTurn on access(not recommended)link under the Less secure appaccess section in right.
- Now turn on
Allow less secure apps:ONtoggle button on the new page.
- But as google said this action is not recommended, because there will be risks for your Gmail account. So you had better turn it off after your testing to make your google account more safety.
-
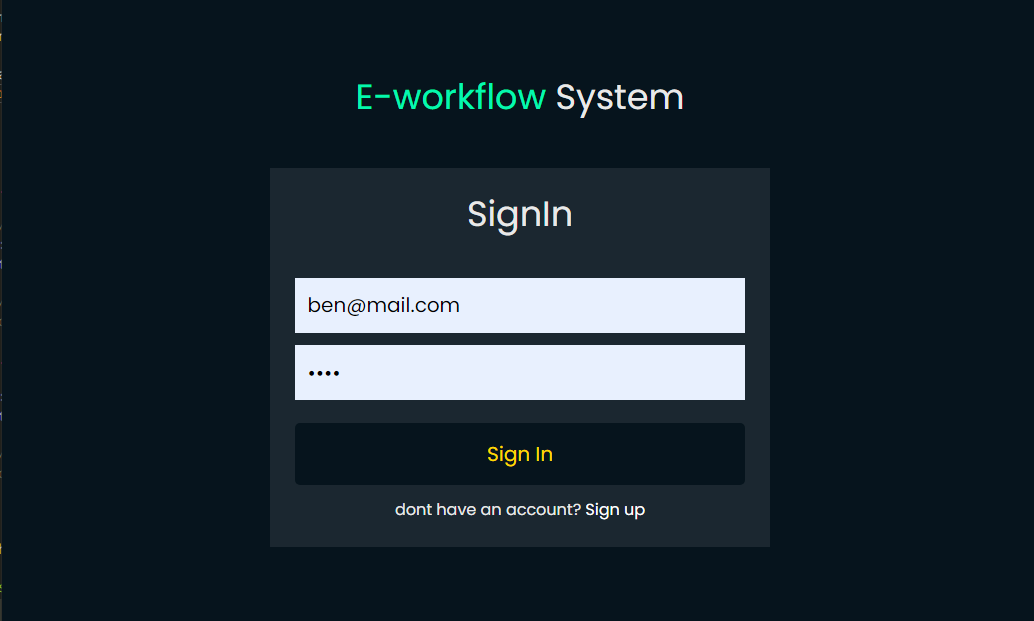
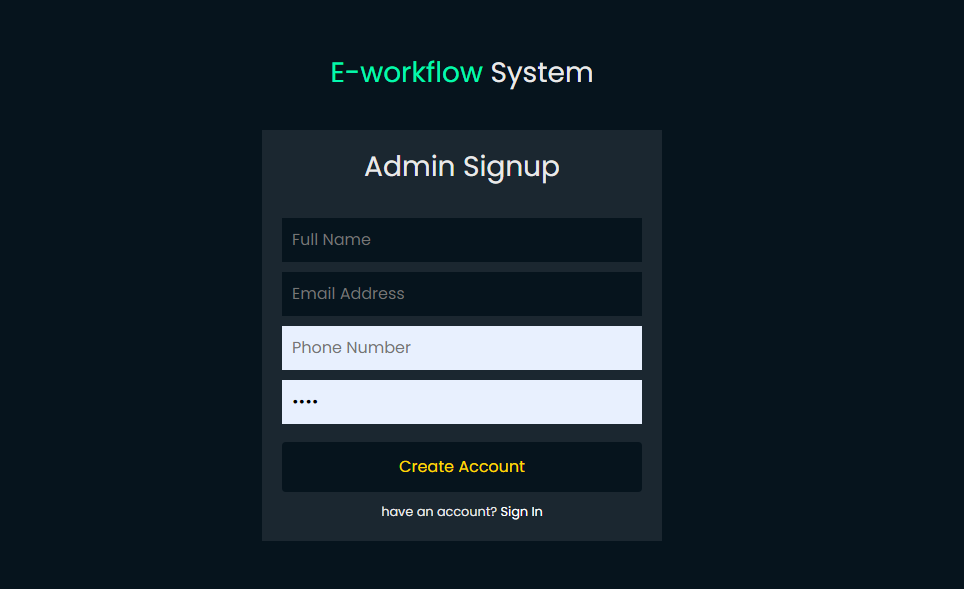
After doing all this, you can simply open the client application. Register as an admin by moving into the
private routeThis would open up a page which look like the picture below.
-
After registering and logging in as admin, simply move to a section called
send mailpage. This would open up a new page which looks like the picture below.
-
Try sending to your own mail address just to test it out. If rit works, then you know youve
SUCESSFULLYsetup sending of mail from this application.

